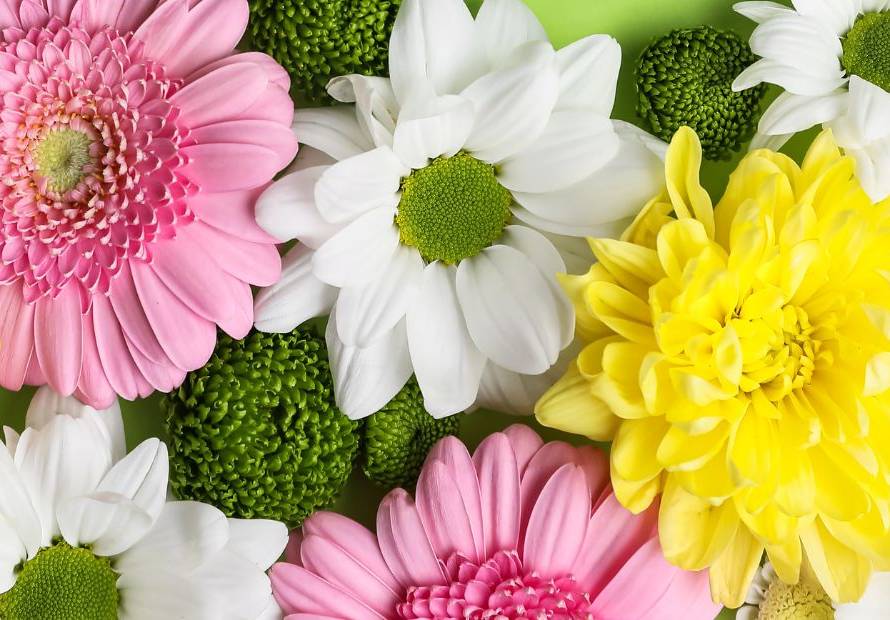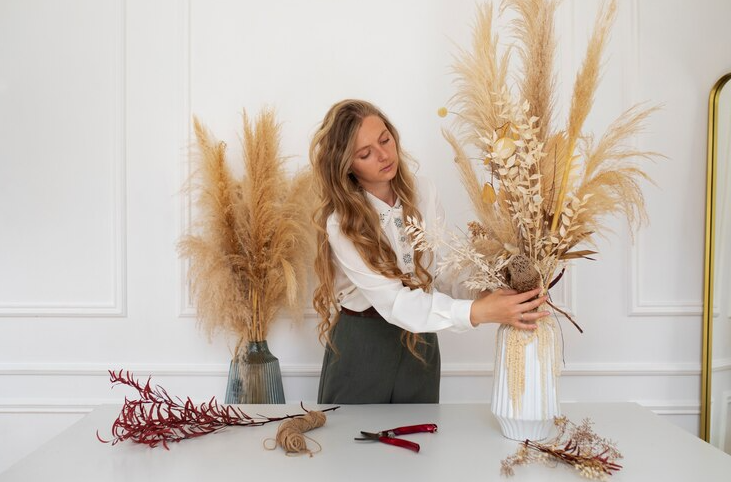
Do you want to save your wedding bouquet or Valentine’s Day flowers to keep them as a beautiful lasting memory of that special day?
Flowers add joy and beauty to our lives, so it’s only natural to wish them to be around for as long as possible.
Preserving your flowers as a reminder is simpler than you might think. Whether it’s your precious bridal bouquet or a meaningful floral arrangement from a loved one, there are some easy ways to dry and preserve your flowers.
If you’re curious about how to dry flowers or where to begin, we’ve got you covered.
In this flower preservation guide, we’ll discuss five easy methods to help you preserve the beauty of your flowers. Let’s explore ways to make them stay lovely for years to come.
How to Dry Flowers | 4 Easy Ways to Save Your Precious Bouquet
Knowing how to dry flowers is worth mastering skill, especially if you want to preserve your beautiful wedding bouquet. Here are four simple methods to help you save those special blooms:
1. Air Drying Flowers
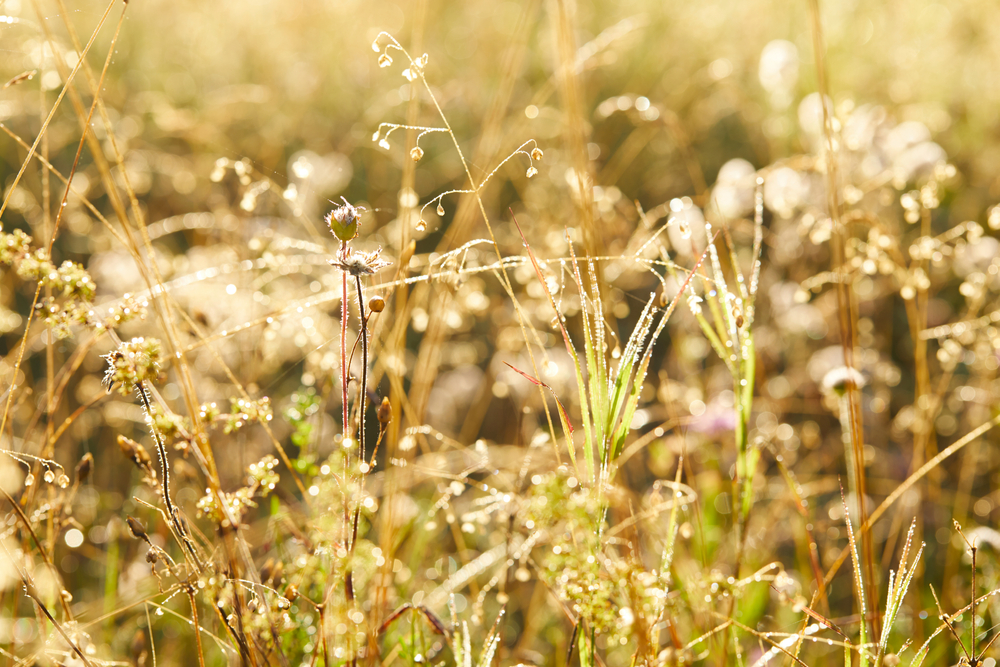
Air drying includes hanging flowers upside down. It is a simple and popular way to preserve your blooms. This method works great for whole rose bouquets and sturdy flowers like lavender, and baby’s breath.
Here are simple steps to air-dry flowers:
- Prepare the flowers by removing any extra leaves from the stems.
- Cut the stems to your preferred length. Make sure they’re at least 6 inches long.
- If you’re drying a bouquet, tie the stems together with a rubber band or some string.
- Find a dark, dry spot with good air circulation.
- Hang your flowers upside down. Make sure they’re out of direct sunlight to help keep their colour.
- Leave them to dry for about 2 – 3 weeks.
- Once they’re dry, take them down and give them a light spray with unscented hairspray to protect them.
Pro Tip: For the best results, dry your flowers in small bundles. This helps ensure they dry evenly and prevents mould from forming.
2. Drying Flowers in a Microwave Using Silica Gel

This quick and effective method involves using a microwave to dry flowers with the help of silica gel. The silica gel helps to maintain the flowers’ shape and can be reused.
This technique works well with individual blooms like Gerbera daisies, chrysanthemums, roses, and tulips. It ensures preserving their colour and structure better than air drying.
Here’s how to dehydrate flowers in a microwave:
- Cut the stems of the blooms to the length you prefer.
- Get a microwave-safe container that fits your microwave and can hold your blooms. Make sure this container won’t be used for food afterwards.
- Cover the bottom of the container with about an inch of silica gel. Use more if you have larger blooms.
- Position the flowers to blossom up in the gel.
- Gently pour more silica gel over the flowers, ensuring the petals don’t get flattened.
- Place the container in the microwave, uncovered.
- Start with a low heat setting and run it for 2 to 5 minutes. Adjust the heat and time as needed. Check the flowers periodically to monitor the drying progress.
- Once the flowers are dry, remove the container from the microwave. Cover it and open the top slightly to vent. Let it sit for 24 hours.
- After 24 hours, use a soft brush to remove the silica gel from the petals.
- Finally, mist the dried flowers with acrylic spray for added protection.
Pro Tip: Dried flowers can fade quickly in sunlight or extreme heat. To keep them looking their best, store them in a cool, shaded area away from windows.
3. Drying Flowers with Sand
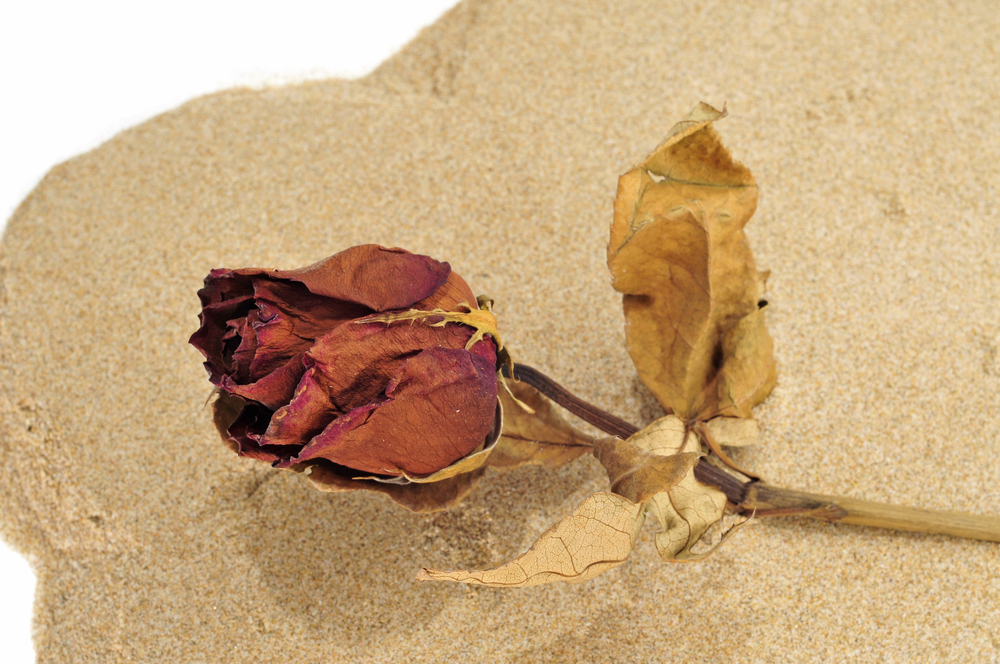
Drying flowers with sand is another great method, similar to using silica gel. This technique works best with sturdy flowers because sand is quite heavy.
Let’s explore how to dry roses and other flowers using sand:
- Begin with pouring a half-inch layer of fine sand into a strong box.
- Lay your flowers on top of the sand. Make sure the stems are also supported.
- Slowly pour sand around, under, and over every part of the flower until they are completely covered.
- Leave the box in a dry place for about 2 weeks.
- After two weeks, gently remove the sand to reveal your beautifully dried flowers.
Pro Tip: Shake the box lightly while pouring the sand to help it settle around the delicate parts of the flowers. This ensures even coverage and better preservation.
4. Pressing Flowers in Books or with a Flower Press
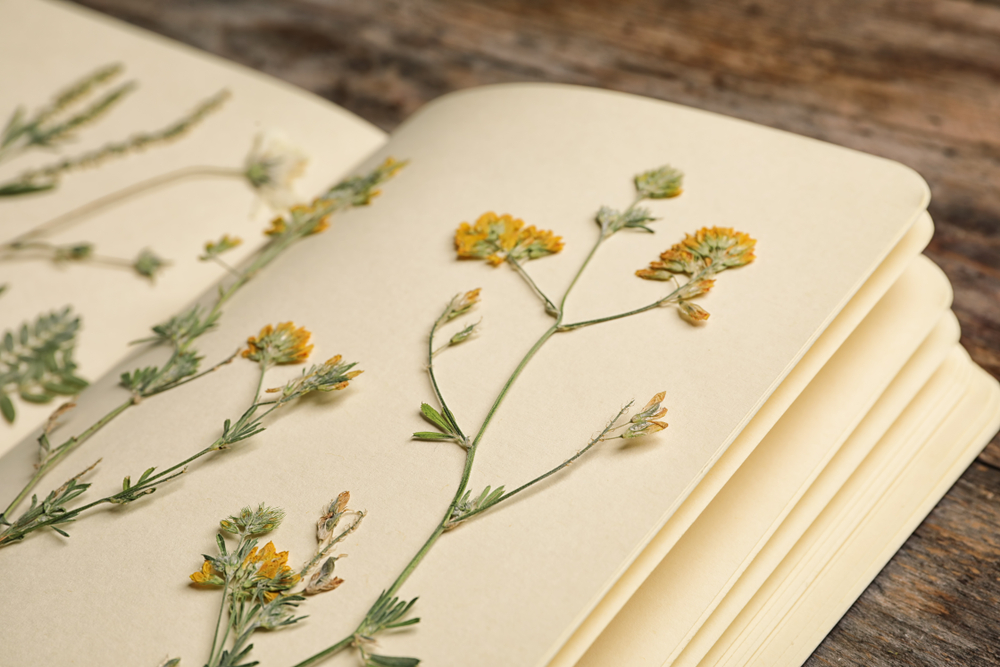
Pressed flowers are wonderful for decorating cards or creating your own botanical art. Pressing flowers has been a favourite method for flower lovers for centuries. Because it’s straightforward and quick.
If you press flowers often, it is recommended to have a flower press. However, a heavy book can work best as well.
Here’s how you can do it:
Steps to Press Flowers:
- Trim off any leaves you don’t want to keep. Additionally, you can press the leaves separately if you like.
- Open a heavy book about a quarter to halfway through.
- Place sheets of absorbent paper, like watercolour paper or cardstock, on the book’s pages.
- Lay the flowers face down on a piece of parchment paper, then place the parchment on top of the absorbent paper. Add another sheet of absorbent paper on top of the flowers and carefully close the book.
- Stack more heavy books, like dictionaries, on top of the book with the flowers inside.
- Leave the books in a safe place for 3 to 4 weeks to let the flowers dry completely.
Pro Tips:
- Thin, flat and freshly picked flowers like pansies, violets, and daisies work best for pressing.
- After a couple of weeks, check the flowers to see how they’re drying. If needed, you can change the absorbent paper to prevent mould.
How to Preserve Flowers | 3 Ideas for Bouquet Preservation
1. Preserving Dried Flowers in Epoxy Resin
Using epoxy resin to preserve flowers creates incredible results. It’s perfect for jewellery or other craft projects. This preserving method requires a bit of speed, but the beautiful outcome is worth the effort.
- First, dry your flowers using the air drying or microwave method.
- Cover your work surface with old newspapers or a protective covering to prevent any mess.
- Measure equal amounts of resin and catalyst into disposable measuring cups. Make sure you have enough for one or two flowers, as epoxy resin sets quickly.
- Pour the resin and catalyst into a disposable mixing cup. Mix thoroughly according to the manufacturer’s instructions.
- Now, apply the epoxy; it typically sets in about 5 minutes, so work quickly and efficiently. Here are two options:
- Dipping
Dip the flower into the epoxy. Make sure it gets between the petals. Hold it for a few minutes to allow the epoxy to set. Then, lift it out and hang it over newspaper layers until it dries.
- Moulding
Place the flower into a silicone mould and pour the epoxy over it. Make sure it covers the flower completely.
Pro Tip: For a smoother finish, use a toothpick to pop any air bubbles that appear on the surface of the epoxy.
2. Framing Dried Flowers
Another wonderful way to keep flowers looking beautiful for a long time. This method not only preserves the flowers but also turns them into lovely decorations for your home.
East steps to frame dried flowers are given below:
- Place your flowers between sheets of parchment paper and press them inside a heavy book for 2-3 weeks until they are completely dry and flat.
- Pick a frame that suits the size and style of your pressed flowers. Make sure it has enough depth to accommodate the flowers without squeezing them.
- Select a piece of cardstock or decorative paper as the background for your frame. Choose a colour that complements the flowers.
- Carefully arrange the pressed flowers on the background.
- Use a small amount of clear-drying glue to secure the flowers and any additional elements to the background.
- Place the background with the flowers into the frame and secure the backing.
Pro Tip: Consider adding small mementos like photos, handwritten notes, favourite poems, leaves, or decorative accents. It will enhance the display and add a personal touch to the beautiful.
3. Dipping Dried Flowers in Wax
Dipping flowers in wax is a great way to create a long-lasting centrepiece that doesn’t need replacing. Here’s how you can do it easily:
- Melt paraffin wax in a double boiler until it’s completely liquid.
- Select the flowers you want to preserve. Make sure they are dry and free from moisture.
- Holding the flower by the stem, dip it into the melted wax. Make sure the entire flower is covered.
- Lift the flower out of the wax and let the excess drip off. Hang or place the flower on wax paper to cool and harden.
Pro Tips:
- The wax hardens fast, so dip and remove the flowers quickly.
- Ensure the wax isn’t too hot to avoid damaging the flowers.
More Ideas for Preserving Flowers | What to Do with Dried Flowers
With so many ways to preserve flowers, it can be tough to pick just one. To help you decide, here are some creative dried flower arrangement ideas, from art projects to floral decor that you can enjoy for years.
- Craft Unique Jewelry
Press a flower in a glass bead to create a one-of-a-kind necklace, or make resin pendants, earrings, or bracelets.
- Create an Infinity Bouquet
Make a lasting dried flower bouquet for an anniversary or wedding party that can be cherished forever.
- Make Potpourri
Mix preserved flowers with essential oils to create a fragrant potpourri or room freshener.
- Holiday Ornaments
Celebrate the holidays by making ornaments with dried flowers, resin, and glitter.
- Enhance Gift Wrapping
Add a special touch to gifts by including dried flowers in the wrapping or tying them onto the package with ribbon.
- Create a Flower Crown
Use preserved flowers to make a beautiful flower crown for weddings, festivals, or photo shoots.
- Make Natural Dyes
Boil dried flowers in water to extract natural dyes for fabric or paper crafts, giving your materials a unique, handmade touch.
Looking for the perfect bouquet to celebrate a special moment or brighten someone’s day?
Contact AHH Flowers | Get Beautiful Flower Bouquets
We create stunning floral arrangements that make every occasion memorable. Whether you’re looking for fresh blooms or gorgeous dried flower bouquets, we have the perfect options to suit your needs.
Explore Our Collection of Flower Bouquets Today!
Read more related blogs:
- What Are Some New Flower Arrangement Trends To Try?
- How to Buy Flowers Online in Perth | 8 Amazing Tips
- Different Rose Colours; Their Meaning & Symbolism | AHH Flowers
- Anniversary Gift Ideas by Year | Traditional & Modern
Bridal bouquets, birthdays, prom, and anniversary flowers hold special memories and are tough to part with.
Good news – you can easily dry out flowers at home. It’s a satisfying process.
The simple flower drying process lets you keep your favourites for as long as you like.
AHH Flowers put together 6 easy DIY methods on how to dry flowers at home and keep them colourful for a long time.
Whether you want to use dried flowers for decoration, or framing. Or make your home smell great by keeping dried flowers as potpourri. These flower-drying methods will give them a fresh start.
It will bring your favourite flowers back to life and keep them looking nice for a long time.
How To Dry Out Flowers and Preserve Them | Step-by-Step Process
Following these simple steps will help you successfully dry and preserve your beautiful flowers.
Flower Drying Essentials
- Flowers
- Scissors
- String or rubber bands
- Hanger
- Unscented hairspray
Step 1: Choose and Prepare Flowers
Begin by selecting freshly bloomed flowers for drying. Remove extra leaves below the flower head and trim the stems.
Step 2: Group and Tie Flowers
Divide the flowers into small bunches of 6-7. For larger flowers like roses or hydrangeas. Keep them separate. Use elastic bands or string to tie each bunch. Then hang them upside down on a coat hanger.
Step 3: Dry In Dark Spot
Hang the flower bunches in a dry, dark place away from direct sunlight. Ideal spots for suspended flowers include the attic or a cupboard under the stairs.
Step 4: Hang for 2-3 Weeks for Best Results
Let the flowers hang for 2-3 weeks until completely dry. This patience ensures the best results.
Step 5: Finishing Touch
When ready, take down the dried flowers. Give them a light spray of unscented hairspray. This not only protects them but also adds a nice shine.
How to Air Dry Flowers
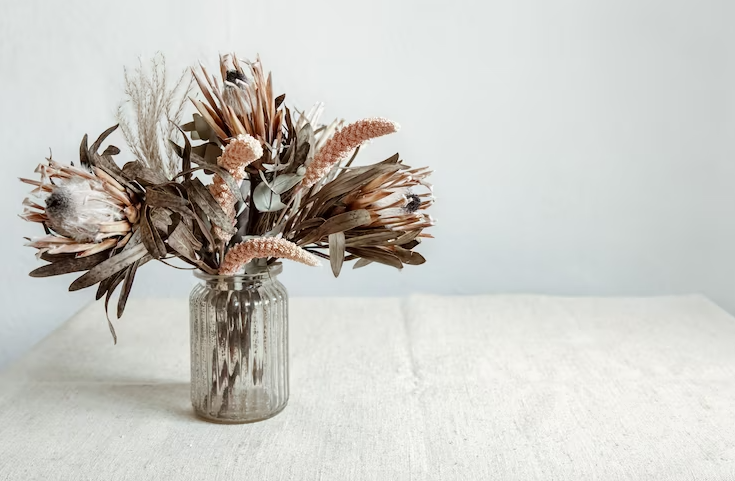
Want to know how to dry a bouquet of flowers? By air drying it. Drying flowers by hanging them upside down to air dry them is an easy way.
This method works best for whole bouquets e.g. a dried roses bouquet and tough flowers. Like,
- Roses,
- Lavender,
- Strawflower,
- Baby’s Breath,
- Statice,
- Celosia,
- Gomphrena,
- Thistle
Follow these simple steps to air dry your flowers successfully.
Step 1: Prepare Your Flowers
- First, remove extra leaves from the flowers.
- Cut the stems to your preferred length. Leaving at least 6 inches.
Step 2: Bundle and Hang
- Next, use a rubber band or twine to tie the stems together. If you have a bunch of flowers.
- Then hang the flowers upside down in a dark, dry, and well-ventilated place. Avoid direct sunlight to keep their colour from fading.
Step 3: Patience is Key
- Now, let the flowers hang for about 2 to 3 weeks to dry.
Step 4: Finish Up with Unscented Hairspray
- Once dried, take down the flowers.
- Give them a protective spray of unscented hairspray.
How To Dehydrate Flowers Using Microwave
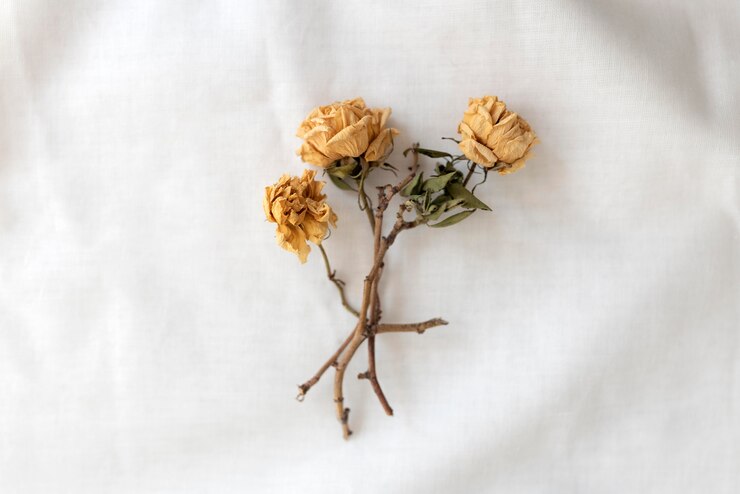
Microwave drying is the quickest way to dry flowers. Taking only minutes. The microwave method preserves colour and structure better than air drying.
Here’s what you need to do:
Microwave Flower Drying Essentials
- Flowers
- Microwave
- Silica gel
- Microwave-safe container
- Small fine brush
Flower Drying Steps
- Trim unwanted foliage and cut stems to fit the container.
- Fill the container base with 1-2 inches of silica gel.
- Place the flower blossom up and gently pour more gel over it.
- If drying multiple flowers, ensure they are of the same type to avoid uneven drying.
- Microwave in 1-2 minute intervals, checking for dryness each time.
- Once fully dried, cover half the container and let it cool for 24 hours.
- Carefully remove flowers to avoid bending or damaging petals.
- Brush off the silica gel and display the flowers as desired.
Additional Tips
- Silica gel is reusable and available at craft stores.
- Silica gel helps preserve flower shape and is reusable.
- This method preserves colour and structure better than air drying.
- Silica gel can be used without the microwave, but it takes longer.
- Protect dried flowers from sunlight and extreme heat to prevent fading.
NOTE: Remember, dried flowers fade quickly in sunlight or heat. So, keep them in cool areas away from windows.
How to Preserve Flowers With Sand
Preserving flowers with sand is easy. Here’s how you can do it:
- First, get a sturdy box.
- Next, pour a layer of sand that’s about half an inch thick into the box.
- Then lay your flowers, stems, and foliage on the sand.
- Now gently pour sand around, under, and over every part of the flower. Until they’re fully covered.
- After that let the flowers sit in the sand for two weeks to dry.
- Lastly, take out the flowers and brush off the sand after 2 weeks.
That’s it! Now you’ve preserved your flowers using sand.
How to Press Flowers Using Book or Flower Press
Pressing flowers is a simple way to save them for a long time. People who love flowers have been doing this for a really long time.
You can press flowers in a few different ways. Depending on what you have and how many flowers you want to keep.
If you have lots of flowers, you can get or make a flower press.
But if not. Just grab a heavy book.
Pressed flowers are great for putting on cards or making your own DIY floral postcards.
Essentials to Press Flowers
- Flowers
- Heavy book (or flower press for lots of flowers)
- Absorbent paper (watercolour sheet or cardstock)
- Parchment paper
Here’s what you do next:
- Take off any extra leaves. If you want, you can take off the flowers and press the leaves by themselves.
- Open the book about halfway.
- Put special paper (like watercolour or cardstock) on the pages.
- Put the flowers face down on parchment paper. Next, then put the parchment paper on the special paper. Add another sheet of special paper on top of the flowers. Carefully close the book.
- Put more heavy books on top of the book with the flowers.
- Put the books in a safe place for 3 to 4 weeks.
Remember: Big books like dictionaries work the best to preserve flowers. Try it out, and you’ll have beautiful, pressed flowers to use however you like.
How To Preserve Flowers Using Epoxy Resin
How to conserve flowers with epoxy resin? Preserving flowers with epoxy resin can give you beautiful results. Using epoxy resin to preserve flowers is a bit tricky. It needs to be done quickly. But it’s worth it, especially for crafts or jewellery.
Here’s a simple guide to preserve flowers using epoxy resin:
Essentials Needed
- Flower Press Kit
- Silica Gel Crystals
- Epoxy Resin Crystal Clear Kit
Follow these easy steps to create stunning preserved flowers with epoxy resin.
Step 1: Dry the Flowers
Start by drying the flowers using air drying or the microwave method.
Step 2: Prepare Your Workspace
Cover your work area with old newspapers or something protective.
Step 3: Measure and Mix
Measure equal amounts of resin and catalyst into disposable cups. Mix enough for one or two flowers, as the resin sets quickly.
Step 4: Combine and Mix Again
Pour the resin and catalyst into another disposable cup. Follow the manufacturer’s recommended mixing time.
Step 5: Apply the Epoxy
Dip the flower in the epoxy or place it in a silicone form, then pour the epoxy. If you dip the flower, hold it for a few minutes to get epoxy between the petals. Lift the flower out and hang it over newspaper layers until it sets.
Step 6: Let it Set
Epoxy usually sets in about 5 minutes.
Best Flowers for Drying
Sadly, not all flowers are good for drying. Some flowers dry better than others.
The best way to find out which flowers are great for drying is by trying them out. However, we’ve also made a simple list of the best flowers to dry. Give these flowers a try. You will likely have success in drying them.
- Herbs
- Roses
- Astilbe
- Celosia
- Pansies
- Poppies
- Yarrow
- Hydrangea
- Larkspurs
- Lavender
- Artemisia
- Amaranth
- Coneflower
- Delphinium
- Baby’s breath
- Strawflower
3 Simple Tips to Care for Dried Flowers
If you want your bouquet dried to stay pretty for a long time, just follow these easy tips:
- Dry at Right Spot: Keep your dried flowers away from direct sunlight, windowsills, stoves, fireplaces, or heaters. Put them in a cool, dry room for the best results.
- Gentle Dusting: Use something gentle like a feather duster, paintbrush, or a cool hair dryer to dust off your dried flowers regularly. This keeps them looking nice without causing any damage.
- Keep Them Dry: Don’t let your dried flowers get wet. Water and humidity can make them turn brown, limp, or even mouldy. So, keep them away from places like the bathroom to keep them in good shape.
How long do dried flowers last?
Usually, dried flowers stick around for 1-3 years.
If you take good care of them by handling them gently. Keeping them away from direct sunlight, wind, and humidity. You can enjoy their beauty for a long time.
Keep Your Flowers Beautiful & Make Them Last
To sum it up, drying flowers is easy with these 6 simple methods.
By following these easy steps. You can successfully dry out your flowers and keep their beauty for a long time.
Give it a try!
Delight in the joy of having a charming, preserved bouquet dry flowers. That brighten up your space for years to come.
Bring Joy To Every Occasion With AHH Flowers
Explore our vibrant blooms and make moments unforgettable with cheap flower delivery Perth. Add a touch of nature’s beauty to your day with on-time flower delivery in Warwick.
Click below to bring home happiness!


